2 Connect the Allocatus Project Add-In to Allocatus Cloud

Start Microsoft Project
Start Microsoft Project and open an existing project or create a new project.
Follow the instruction of the Allocatus Project Add-In
When you open the first project after installing the Add-In the introduction to Allocatus starts. In this introduction you sign in with your Microsoft 365 account and get a short overview about the functionality of the tool. Afterwards you are ready to publish the first project to Allocatus.
Check the data of your resources
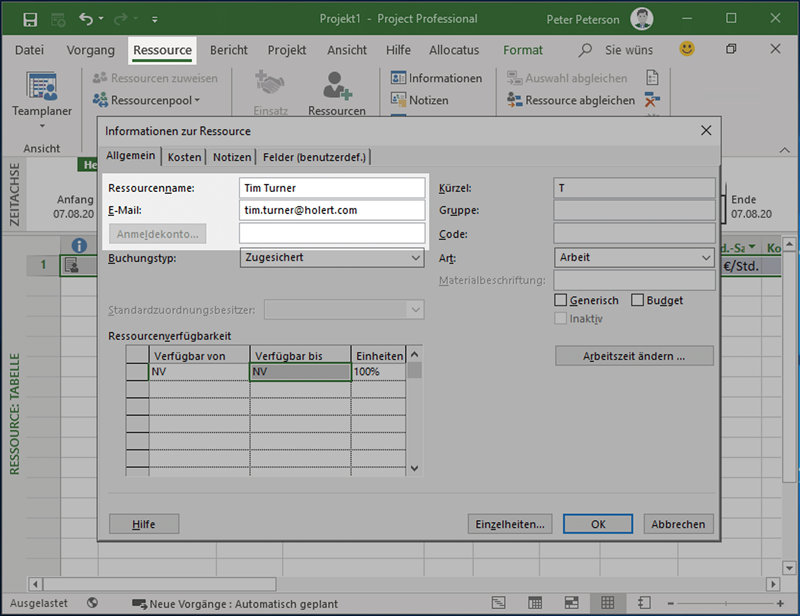
Allocatus needs the email addresses of your resources to know where to create the calendar events. Please make sure that all the resources you want to synchronize with Allocatus have an email address set:
- If you use the resource pool of Project Online the resources have already set the email addresses.
- If you only use a local installation of Project Client open the view Resource Sheet and edit the resources by double clicking on them. Make sure that Email is set.
Assign your resources as usual to your tasks in your project plan.

Publish the project to Allocatus
To create calendar events in the resources' calendars, Allocatus needs the Task, Resource and Project data. To keep Allocatus up to date always publish after you made changes in the project plan.
Allocatus integrates into the menu bar (ribbon) of Microsoft Project. Click on Connect to sign in with your Microsoft account.
To publish the data to Allocatus click the Publish button in the Allocatus menu. When you publish your project to Project Online, Allocatus automatically publishes the changes.
Accept requested permissions
Your team members get an email from Allocatus with the request for permissions. Which permissions are needed?
After a team member accepts the permissions, Allocatus starts synchronizing the tasks of the team member to the calendar.